Showing posts with label Pro-markers. Show all posts

Sunday, 18 March 2012

Postcard Catching up...

I've gotten a bit behind with my Postcards for Darcy's Challenge and realised that as well as having been really busy, I was also stuck on the story aspect and this was blocking my creative mojo for the actual cards..so, rather than give up I decided to try and catch up with the postcards and worry about the story later - or not at all even...and here they are, they are all quite simple - with several to do I had to make life easy for myself!  |I've shown them n reverse order starting with this weeks destination -
The Netherlands  -  
This was created by stamping and masking a tulip stamp many times (there are only three flowers on the stamp) to create this 'field of tulips' and colouring with Pro-markers.
Canada
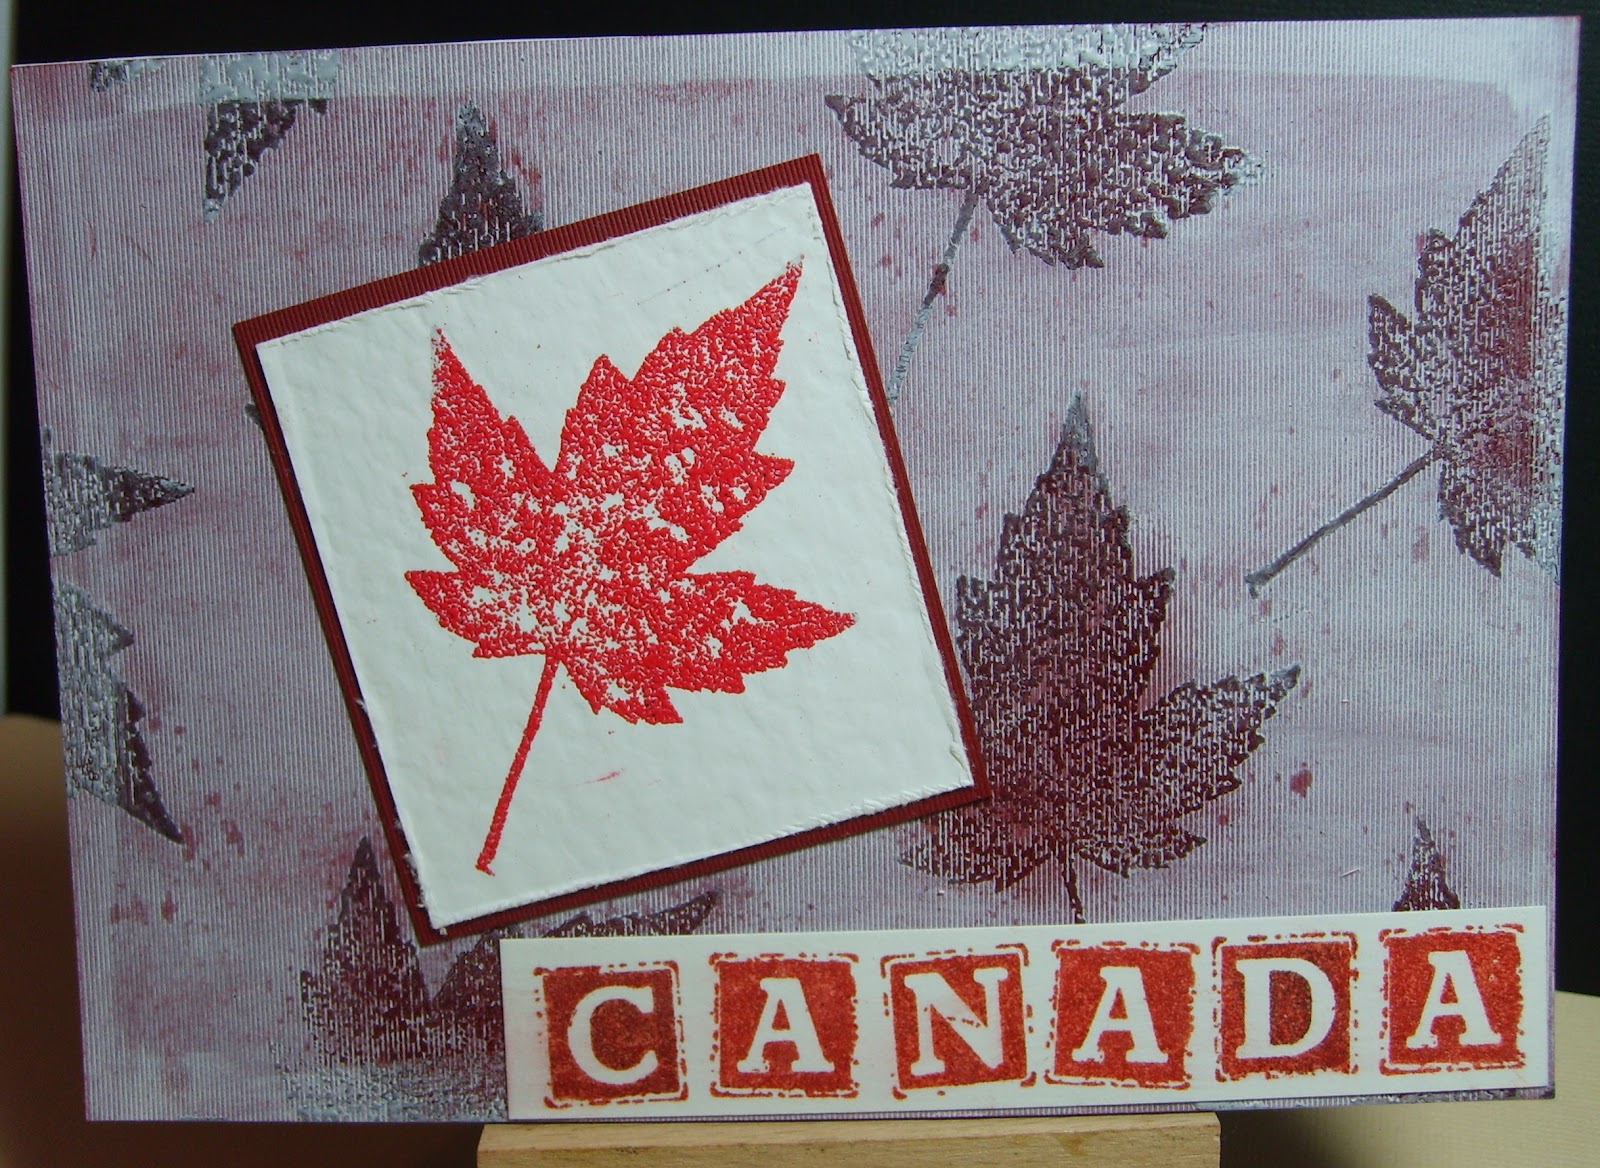


For this one I stamped and embossed the 'Maple Leaf' (hope that's close enough) in clear on to red card, then went over with Picket Fence distress stain and removed roughly from the embossed leaves. I then reversed it and stamped and embossed the leaf in red on white card. 

Switzerland
I enjoyed doing this one as I had a holiday in Switzerland many years ago and loved it. I've used a pic of the Alps that didn't make it into my hol scrap book, added some train tickets from my holiday that I still had stored away  (thereby confirming my need to keep absolutely everything because it will be useful one day!) and a pic from one of my fav childhood TV shows 'Heidi'. I loved that story, had the book and read it may times and have the show on DVD for nostalgia ! The finishing touch was a little glitter on the snow capped mountains !    
Wales


While going through some stuff in my mums loft I came across my childhood postcard collection - and among them a couple from Wales. I had obviously tried to do something with this one before as it had slots cut in it so I cropped the figures in costume and added to my stamped row of daffodils, that I'd coloured with water colour pencils.

The eagle eyed among you will notice Cuba is absent...I tried my best but it just wasn't working and I figured one missing wasn't too bad. So here I am all ready to move onto this weeks' destination and hopefully progress on my story will magic itself up too. I've made pages for the cards in my book too but to avoid an even longer post I've just added these to my seperate postcard page (button at top).

Thanks for visiting...hopefully I'll get chance to catch up on other's this week too...Have a good week..Esther xx


Sunday, 18 September 2011

Cute Nativity

I have to admit I've felt a little fragile today after a BBQ with friends yesterday - trying to squeeze the last bit of summer out ! But I did manage a bit of crafting today - staying with Christmas and a CAS card with this really sweet LOTV image which I just love. I wanted the image to be the focus so all I've done is add a frame cut with a Nestie and a sentiment - 
This is a lovely image and I've coloured with Pro-markers.

 I'm sharing this at the following challenges -

Hope you all have a good week...Thanks for stopping by... Esther xx
                                                         

Tuesday, 13 September 2011

More CAS Christmas

I really must get a bit more creative with my blog post titles, I'm a bit rubbish at them. Anyway this post is exactly what it says on the tin...a couple of CAS christmas cards. Apologies for the photos, they're a bit dark.
This first one uses a beautiful Penny Black stamp which I've stamped and embossed in silver and then stamped again behind.  The colour wash behind is Distress stains in weathered wood and milled lavender. Less is More this week wanted to see double so I'm entering this over there as well as at Penny Black At Allsorts who are challenging us to get ahead for Christmas.
I then went for bright colours and followed the sketch at Waltzing mouse sketch challenge and made this card. As I'm determined to continue with my Christmas card I'm looking for a festive spin for every challenge I fancy having a go at and this stamp from Waltzing Mouse made me think of Christmas lights so I've used my pro- markers to colour and added some glossy accents. For some reason the red has shown as more orange on the photo but it is a bright Chrismtas red IRL.


Thanks for visiting...I love reading your comments so please let me know what you think. Always grateful for tips...Esther xx

Wednesday, 7 September 2011

Christmas Scene

Another Christmas card to add to the box  - I'm quite pleased with how I'm doing considering I don't usually start til at least November. This one is a large 8x8 - a new size for me and I loved that it meant I could create this scene with several stamps that I wouldn't of been able to do on a smaller card blank. I used the sketch from 'Just Us girls' as a starting point (who are celebrating their 100th challenge) and then created the scene with Penny Black carol singing hedghogs, and the door and tree stamps from Stamp Addicts in the background.  I coloured it all with promarkers with a smudge of weathered wood distress inks round the edge.
I ran some co-ordinations card through my big shot in a music embossing folder and then sanded it a little - I'm not sure i have a good enough sanding block as it didn't work as well as I'd hoped.  The background paper is a patchwork effect I've had for ages - no idea now who made it. The gold embossed wording says 'A partridge in a pear tree'.
A little ribbon, some holly and a touch of stickles which you can't really see on here finishes off.
I'm sharing this at these challenges -


Thanks for stopping by - hope you're having a good week...Esther xx

Monday, 29 August 2011

School Days

Hi - I'm enjoying having an extra day off thanks to a bank holiday even if the weather isn't that great! Been playing with my pro-markers, watching some tutorials and practicing my colouring and I'm quite pleased with the result - feel like I'm making progress!  There are loads of back to school challenges about and it's not a theme I'd usually do, but I fancied trying something different. I don't have anything specifically suited to this theme so had to adapt a little - I coloured Tilda who is actually holding a butterfly, but made an apple for her to hold instead - which has glossy accents on but it doesn't really show up.
I didn't have anything school like for her to sit on so drew some books freehand under the stamped image and coloured.  I've used the sketch from a new challenge I came across this week - Friday Mash Up, who have the added option of using dry embossing. As you can see I've used two embossing folders on some paper for the background layers - I bought these a while ago as they were on offer and they've sat on the shelf untouched since! I think this qualifies for the challenge at Just Add Ink where the challenge is to use something from our stash we've had for ages and never used. You can really see the texture in this pic-
Other Challenges -

Thanks for stopping by...Have a good week - Esther x

Tuesday, 23 August 2011

Craft-Room Challenge - Masking

So welcome to another Craft-Room Challenge and it’s my turn to choose the theme this week ! My biggest passion in crafting is definitely rubber stamping and I especially enjoy masking and so this was my choice for our challenge this fortnight.
SD532606 My card is created by stamping and masking with five individual stamps  (actually 6 if you count the chicken!) to create this scene which I’ve then coloured with Pro-Markers.
If you want to see (and have time to wade through) a step by step keep reading – if not, thanks so much for visiting and I hope you join us this week for our challenge and remember you could win a £10 voucher to spend in The Craft-Room shop ! I look forward to visiting you all!  Esther xx
------------------------------------------------------------------
Masking – Step by Step – I use sticky notes and eclipse masking tape to create my masks – just stamp the image and cut out. To avoid a white void around the image on your creation, cut the masks slightly inside the stamped line. In the pics my masks are pink to make them show up.
masking 11 – Stamp Cottage


Masking 2
 

2 – Mask cottage and stamp row of trees/Bushes


Masking 33 – Leave Cottage mask in place and add Tree/Bush mask – stamp Tree.


Masking 4
4 – Leave all masks in place and add Tree mask – Stamp Fields


SD532599
5 – Leave all masks in place and add fields mask –stamp background Hills.


Remove masks and have fun colouring ! Here I've numbered the stamped images with the masks removed to show the order they build up from front to back. The basic rule is to stamp the image that is in the foreground first and work backwards.
SD532600
Masking doesn’t have to mean building up a complicated scene you can mask areas of the card before inking and stamping over like here or  just stamp an image and mask to put in a background like here
You can buy ready made masks to use with your inks too – like I’ve done here (you can see what I used this for in this post here).
SD532614


Well if you've made it this far – I admire your patience..and thanks!  Hope you have fun and look forward to seeing your masking projects….Esther xx

Monday, 1 August 2011

Guest Designer spot

Some time ago I was lucky enough to win the challenge at Sir Stampalot and was subsequently asked if I wanted to be a guest designer…well, is grass green? Of course I jumped at the chance and inspired by a project in Craft Stamper magazine I made this pyramid box.SD532317
The theme for the August Challenge at Sir Stampalot is ‘Whatever you Fancy’. I used a cute stamp by Penny Black which I’ve coloured with Pro-markers.  The box I have coloured with Distress stains and inks and stamped with Hero Arts sparkle clear  - cupcakes set. SD532327I’ve also stamped inside and used some old book page on the pyramid base. I’d like to take credit for baking the cake too…but my creativity does not transfer to the kitchen (it was very nice though!).

I’m also entering this here -
Penny Black@Allsorts challenge  -  ‘Free and Easy’

Have fun and thanks for stopping by…Esther xx

Tuesday, 19 July 2011

Little tutorial

One of my all time favourate techniques is masking and stamping – I love the effects you can get with even very simple images.  My mum, who is a bit of a stamping novice, was quite confused by the technique though and couldn’t get over how simple it is once I showed her step by step…and I've recently been asked about it elsewhere too so I thought I‘d post a card I made with a few pics to show what I did. Apologies to those of you that will know how this works.

This is the card – made with  a single cupcake stamp, a cherry and a background gingham stamp –oh and the sentiment of course. I actually wish I hadn’t added the cherry but it’s too late (and I mean gone bedtime late) to do anything about it now!  SD532543
SD532537Stamp the cupcake onto a sticky note (making sure part of the image is on the sticky bit!) and cut out just inside the stamped line. Stamp the cupcake onto your cardstock and cover it (mask) with your sticky cut out.

SD532538 Stamp the image again over the mask, you can mask and stamp several times - I did five cupcakes.
 SD532542

Mask all of the cupcakes and stamp over with background stamp.
The cakes look more natural, like they are standing one in front of the other, on top of the background  - which I thought look a bit like a picnic table cloth!!  I've coloured with pro-markers and added a little ribbon and bling.

I’m going to enter this here -


Thanks for visiting…now I’m off to bed!! Esther xx

Sunday, 3 July 2011

Alcohol in the sun…

No I haven't been lazy away in the garden with a glass of something – I’ve been playing with my alcohol inks (one of my favourite things) in bright, hot sunny colours!  I’ve missed Grungy Monday at Studio L3 for a while – just too much going on, but this week the technique is Alcohol Inks -  as demonstrated by Tim Holtz here - Adirondack Alcohol Inks! so this card fits right in. After colouring some glossy card I used an embossing folder – then lightly highlighted some of the raised areas with Gold mixative.SD532478
The backing panel is made using the same colours of Alcohol inks on shaving foam – my first attempt at this technique that has long been on my list to try, I loved it and shall be doing more!!  The Sun/Moon stamp is an ancient one from PSX, one of the first I bought I think, and I've embossed in gold and smudged a little DI round the edges. After stamping a few bits and pieces on the backing panel I layered it up with some twine and a button – coloured with more AI.
SD532479 The letters were blue plastic freebies from some magazine or other and I coloured them first with Gold Mixative, then edged with gold pro-marker – dabbing with the Gold AI has left a slightly distressed surface which I was pleased with. It actually took my ages to put this card together after making the individual panels – maybe because I don’t often use colours this bright but I really struggled and turned to the sketch which is an optional part of The Stamp Man challenge to help me. 
Challenges -
Thanks for stopping by – I’m off to play with more inks and shaving foam! Esther xx

Saturday, 25 June 2011

Sketchy colour ways

I had some craft time today just for me…my DT stuff is up to date and so I made just what I fancied! I used several challenges for inspiration – which lead me to my first card – very unusual for me to make a patriotic card, mainly because I’m really not keen on the colours, but when I saw the sketch at Less is More and the 3D challenge at Just Us Girls the idea came to me straight away so I went with it…SD532465
I’m not sure if the Rosettes are a bit big for it to be CAS – never really sure of the boundaries so I’m relying on the LIM girls to tell me! I’ve embossed a white panel with Swiss Dots and edged with a hint of silver which doesn’t really show up here. I’m going to add this to challenges at Moving Along with the Times – CAS, Stamp Something – Red, White and Blue and Secret Crafter – Embossing.

My next card is completely different but also inspired by  sketch and colour themed challenges – namely Lili of the Valley’s sketch and The Ribbon Girl’s colour theme (Pink and Cream) I do like a bit of girly pink sometimes! The ribbon looks peachy on here but it is more Dk cream in RL SD532459
I’ve coloured the LOV image with Pro-markers and used Paper Pizazz DP to layer with my plain CS. Other challenges for this card are -
Well that’s me for today – thanks for stopping by, Esther xx

Tuesday, 14 June 2011

Buzzy day…

Well it’s back to work for me tomorrow after an extended weekend off for my Birthday – including a couple of days away inCovent Garden  -  It was a lovely weekend!
When I returned I found  new stamps from Stamp Addicts waiting for me so on went my DT hat.SD532424
I created this background using the woodgrain technique as required for the Just Us Girls challenge (there is a tutorial link on the JUG blog) After which I ‘stamped’ with bubble wrap in Distress inks. I layered torn cardboard from an old box which I’d inked with Walnut Ink DI. All the images are coloured with Pro-markers and are from Stamp Addicts. The sentiment is from SA too and I’ve layered onto a scalloped Nestie circle.

Challenges -

Right then – off for an early night, getting up in the morning’s gonna be tricky!! Thanks for looking - Esther xx

The stamps I’ve used and others will be on Stamp Addicts show on Create and Craft – 19th June @ 11.00am and don't forget the new Craft-Room Challenge 'Altered paper Dolls' started today!

Sunday, 5 June 2011

Doing cute..

Cute is a style that I really struggle with – I’ve had a go at one famous cute girly stamp and while the children I made cards for appreciated them, I wasn’t ever completely happy. Nothing to do with said stamps – in fact I enjoyed colouring her and was happy with the results, just never felt I got the making up of the card right.   I think I may have found the answer  - I had long admired LOTV stamps but because I didn’t think cute was my thing, have only just got round to acquiring some. I still don’t do cute in the load lots of flowers, lace and swirls way, but I am quite pleased with this effort, which is for my great nieces fifth birthday.
SD532352
SD532354She is coloured with Promarkers, matted on a Nestie die cut and  some freebie paper I’ve had from  a magazine for probably a  few  years!!   Of course there is stickles on her wings and flowers for added bling. 

I’m entering this into the following challenges -
I love Pro-markers – Sparkly Bling
Lily OF the Valley – Punch it Up  
Charizma Cardz – Something that flies
Crafters Companion – Here comes Summer
By the Cute and Girly – In the Garden
                   
Thanks for visiting...Esther xx

Monday, 9 May 2011

Poppies

Oh what a fabulous weekend I've had. My best friend got married on Saturday so my OH and I travelled to Surrey on Friday, stayed over and joined in the celebrations (we were invited!).  After the journey home and a sleepy day yesterday, it was back to the craft desk today as I had booked the day off work. I was supposed to be making my mum's birthday card but I got distracted by some very exciting news (more of that later in the week) and The Stamp Man challenge where the current theme is Poppies. Janet is encouraging us to make cards to be sold at the Skipton British Legion concert in October so I made this one to send in  -
For the main panel I stamped the Hero Arts flower - this is available as a separate clear stamp but mine is in a very old set of four I'd  tucked away in a drawer and forgotten about til I saw this challenge. I've coloured with Pro-markers, used distress inks on the background and stamped with a  newly purchased Crafty Individuals stamp (think this could become my fav background stamp of the moment!). For the second panel, coloured with Distress inks and stamped with an Elusive Images stamp. The stamp 'Remember' I've had for so long I can't 'remember' where I got it. I keep looking at this card thinking it needs something else - but don't know what... I often feel my cards don't have as much detail or embelishments on as others I see - but is that a bad thing ? What do you think? 

As well as The Stamp Man I am entering this into these challenges -

I'd also like to say a big thank you to Jean, who is a new blogger but already has some lovely creations to share. Jean left me this award on her blog a couple of days ago.  I'm afraid I  never carry out the conditions attached to awards but it's lovely to be appreciated by fellow bloggers, so thank you Jean.  

Enjoy the rest of the week, thanks for stopping by, Esther

Wednesday, 4 May 2011

WOYWW

This is my desk today (well last night actually but it's still the same). It was back to work yesterday for me so no time to tidy up after the weekends craft fest! The card on my desk is for the Hero Arts Club Blog challenge - here it is in a 'proper' pic -  
I used these Tulips which I masked and Stamped to form the circle - I think this is quite an old stamp, I got it from E-bay (99p bargain!) for my mum and had a sneaky quick go before giving to her (it was used already!). Coloured with Pro-Markers and layered on plain cardstock stamped with Hero Arts Cling Dots.

You can also just see the tops of some CD cases in my pink box on the right. My lovely other half brought these home from work (they were throwing them out) to replace some of our broken ones - but alas they didn't all get as far as the music collection! I snaffled some of them for storing my clear stamps and have given him instructions to get more!! I altered this one according to the stamps inside - I used alcohol inks directly on the case and and stamped on a piece of white card to fit the cover inside! I did add a bit of glitter to the fairy wings but it doesn't show well on the pics.
I was quite pleased - so much tidier and free!

 I'm entering this into a couple of challenges -
 Sir Stampalot - Magical Worlds
 Stamp Something - Somethings with wings

Happy WOYWW everyone, To join in the WOYWW fun hop over to Julia's blog 'The Stamping Ground' , hope you're having a good week, thanks for looking, Esther xx

Monday, 21 March 2011

Wise Words

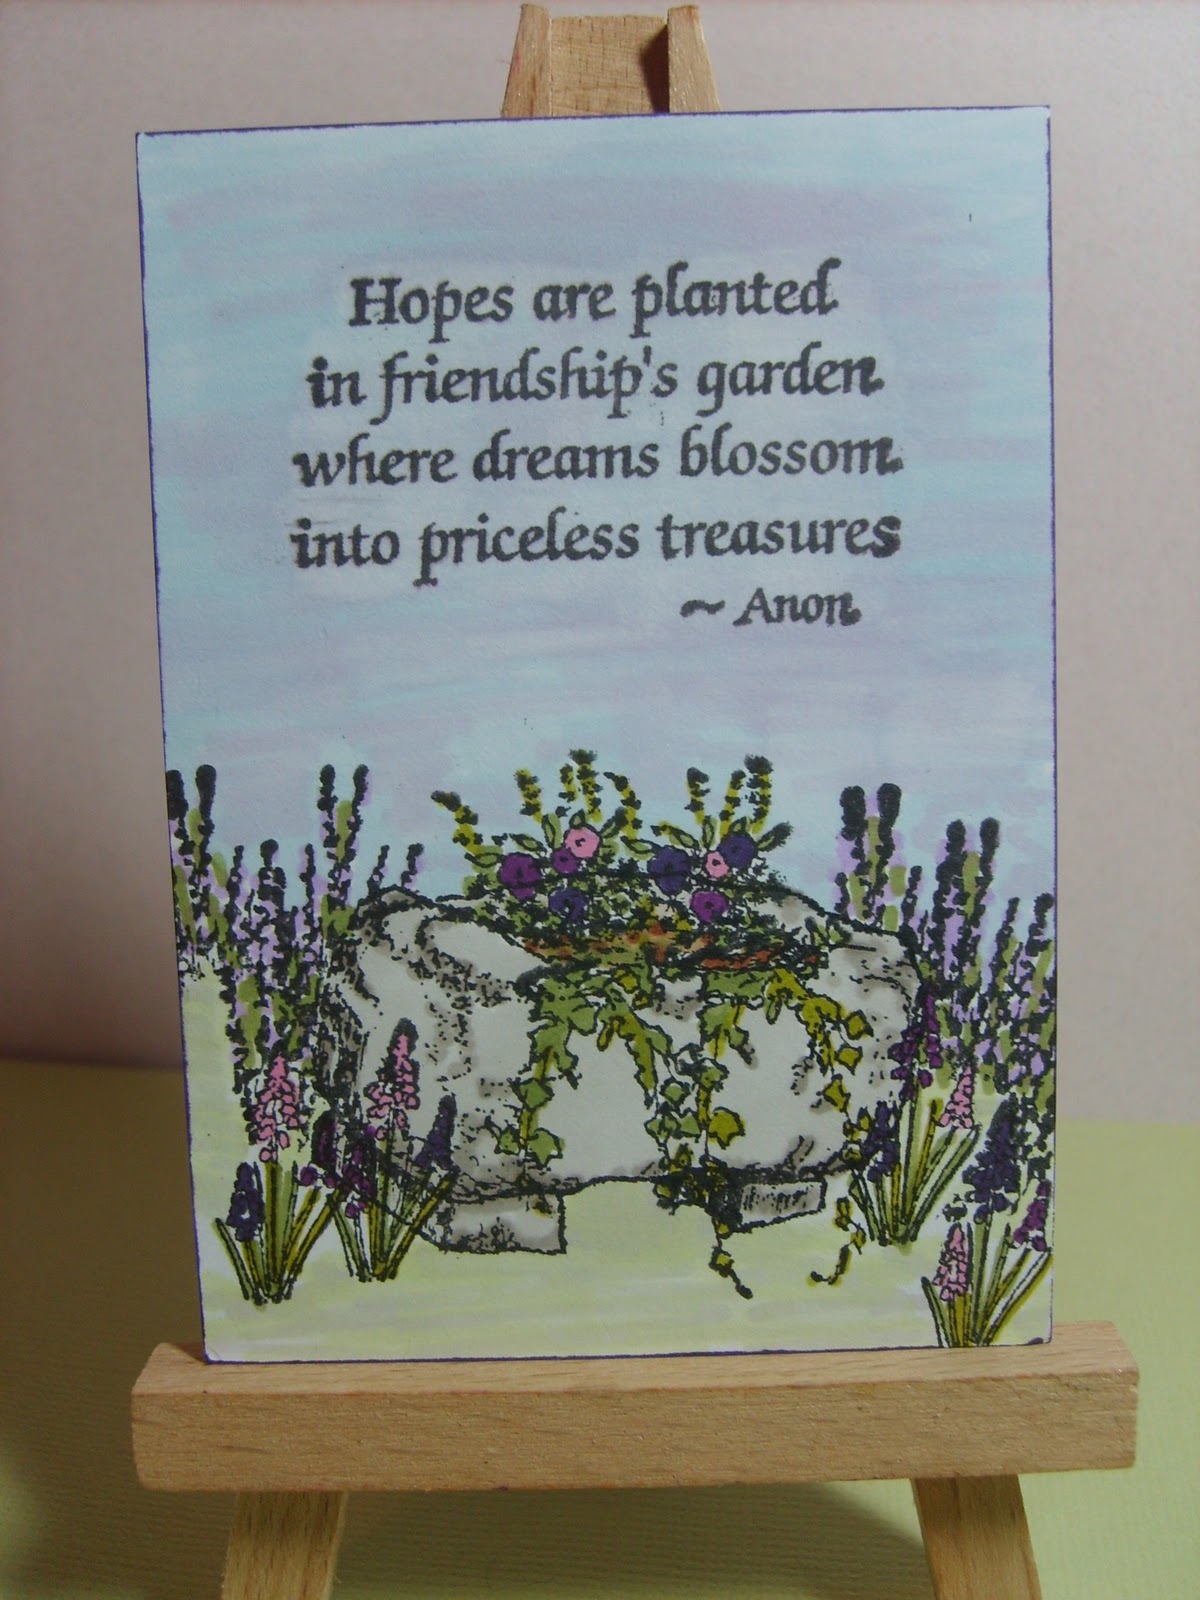
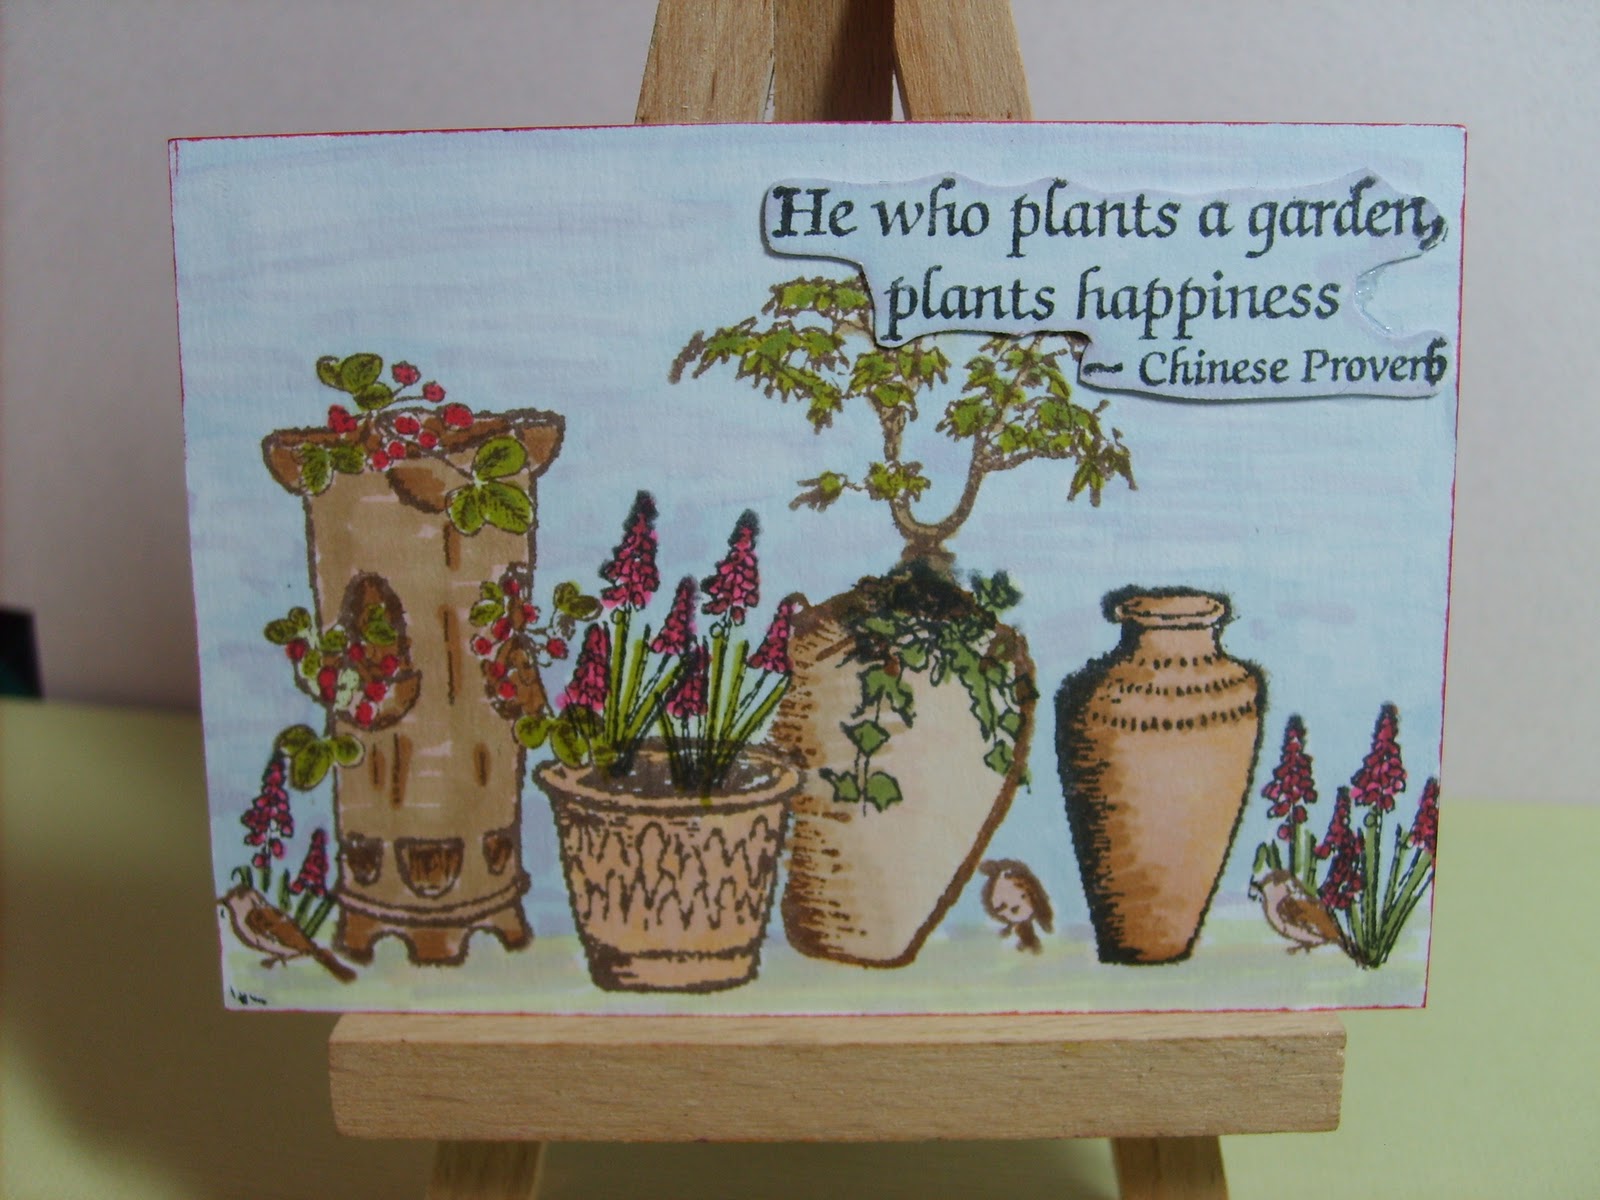
I am really enjoying being part of The Stampman ATC swap, hadn't ever made an ATC in my life before I joined in and now I'm a bit addicted and have received some lovely art work from other crafters. This month the theme is Wise Words and as there is a bit of spring in the air I've used these lovely stamps which are Aspects of Designs I've had for ages. I love playing with the individual stamps - the pots, planters, flowers etc to  create scenes and came up with three different garden/spring themed pieces, each with a different quote from the same stamp set.  I don't have a garden so creating these was lovely - my own little pieces of spring inside!

I've used Flower soft on this one to create blooms in the pot

This is my favourate and like on the third one I did some masking and stamping

 They are all coloured with Promarkers - got a bit of a wonky pot on this one!
As well as The Stampman Swap I am entering these into the following challenges -

Hope spring is finaly arriving where you are too..Esther xx

Sunday, 6 February 2011

Love and Friendship...


Managed to get another couple of cards made this weekend (I did spend ages cleaning the kitchen - including the oven so allowed myself time to play too!).This first one is a cute Penny Black image coloured with Pro-markers using the colours from the inspirational photo over at Passion for Pro-markers. 
Inside the card I've added a sentiment to complete the phrase Love Is...This is the challenge criteria over at Penny Black Saturday (along with using a Penny Black image of course). Friends are so important and sharing special moments like birthdays is priceless (as the advert says!), but I don't often make cards with messages aimed specifically at  friends (tend to do just general birthday) so it was nice that the challenge over at Totally Papercrafts prompted me to make this on.  

My second card also used colours from an inspirational photo - this time from The Playdate Cafe.  I've used more Penny Black stamps - paisley swirl to make the background papers and also the sentiment, it's a really useful stamp as it is suitable for so many occasions. I've used scraps of really floaty material (not sure what it's called) and Tim's Holtz Tattered Florals Die to make the flowers.
Challenges -
 Card one -
Card Two - 
Right then off to make the dinner...Thanks for visiting...Esther xx

LinkWithin

Related Posts with Thumbnails