Showing posts with label masking. Show all posts

Sunday, 22 March 2015

Favourite stamp(s) at Fashionable Stamping

Over at Fashionable Stamping my lovely team mate Yvonne has challenged us to use our Favourite 'go to' stamp - well, how could I choose ? I don't really have just one favourite but when given complete freedom I always turn to the same couple of background stamps and butterfly so that's where I went for this challenge. 
So I pretty much always use script on my projects somewhere and my favourite script stamp is a Tim Holtz, also in my background I've got Judikins elegant flourish and Hero Art dots. 

The Butterfly is an Elusive Images stamp. My card uses Archival black and distress inks to create a collage of my fav stamps using masking to layer them. I've added a little stickles for a touch of bling.

As always my fellow FSC teamies have created some beautiful works of art so please head over and check them out. I hope you feel inspired to join our challenge - Don't forget we are a stamping challenge and we especially need to see that the stamping is the focal point on the project and that this must follow the format of the theme. NO Digi stamps please. Our sponsor is Flonzcraft and the winner chosen at random will receive a voucher for $20 - we also give special mention to our top 3.

I'm also sharing this over at  - 

Thanks for popping by - Happy Crafting....Esther xx

Sunday, 17 February 2013

H is for….

…Hourglass. Time for another letter in The Craft Barn’s Alpha Challenge, which this fortnight is ‘H’. To read about the Alpha Challenge visit here. I'm altering a dream dictionary and the entry for hourglass suggests that to dream of an old fashioned symbol that measures time (such as an hourglass) may mean our perception of time and its management is old fashioned and we need to use a different way of measuring those activities.
SD533968_thumb1
An hourglass can also symbolise being overly aware of of running out of time – this can occur when we are particularly stressed.
SD533973_thumb2
I made an hourglass stencil and mask just on copy paper and used acrylic paint and archival ink. The stamps are an assortment of Tim Holtz, Craft Stamper freebie and a couple I don’t know the brand of.
SD533966_thumb1
I found a sentiment stamp which seemed to relate to the suggestion of changing how we measure and perceive time. I don’t know about you but I spend a lot of time worrying about how much time I don’t have to do all the things I’d like to and am sure I miss out on so many moments that pass me by while I'm worrying about running out of time. I'm surprised I don’t dream about hourglasses every night !!

This Alpha challenge is turning into a bit of a journey for me – I'm doing some quite therapeutic thinking while creating these pages, something which hasn't come easily when I've tried other journals. I'm so glad I chose the Dream dictionary and can’t wait for the next letter !
I'm also sharing my page over at Vintage Stamping where the theme is Blues, Browns and Beige.
Thanks as always for stopping by…Esther xx

Tuesday, 23 August 2011

Craft-Room Challenge - Masking

So welcome to another Craft-Room Challenge and it’s my turn to choose the theme this week ! My biggest passion in crafting is definitely rubber stamping and I especially enjoy masking and so this was my choice for our challenge this fortnight.
SD532606 My card is created by stamping and masking with five individual stamps  (actually 6 if you count the chicken!) to create this scene which I’ve then coloured with Pro-Markers.
If you want to see (and have time to wade through) a step by step keep reading – if not, thanks so much for visiting and I hope you join us this week for our challenge and remember you could win a £10 voucher to spend in The Craft-Room shop ! I look forward to visiting you all!  Esther xx
------------------------------------------------------------------
Masking – Step by Step – I use sticky notes and eclipse masking tape to create my masks – just stamp the image and cut out. To avoid a white void around the image on your creation, cut the masks slightly inside the stamped line. In the pics my masks are pink to make them show up.
masking 11 – Stamp Cottage


Masking 2
 

2 – Mask cottage and stamp row of trees/Bushes


Masking 33 – Leave Cottage mask in place and add Tree/Bush mask – stamp Tree.


Masking 4
4 – Leave all masks in place and add Tree mask – Stamp Fields


SD532599
5 – Leave all masks in place and add fields mask –stamp background Hills.


Remove masks and have fun colouring ! Here I've numbered the stamped images with the masks removed to show the order they build up from front to back. The basic rule is to stamp the image that is in the foreground first and work backwards.
SD532600
Masking doesn’t have to mean building up a complicated scene you can mask areas of the card before inking and stamping over like here or  just stamp an image and mask to put in a background like here
You can buy ready made masks to use with your inks too – like I’ve done here (you can see what I used this for in this post here).
SD532614


Well if you've made it this far – I admire your patience..and thanks!  Hope you have fun and look forward to seeing your masking projects….Esther xx

Monday, 15 August 2011

The Colours of summer

Despite planning to spend time making Christmas cards I got distracted by a few of the challenges around and ended up altering a notebook with some very hot sunny colours – SD532620
After a coating of Spun Sugar Distress stain I used a Tim Holtz mask and Distress inks on the background paper – moving the mask and layering the colours till I was happy. My intention was then to add a few delicate sprays of Cosmic Shimmer (Lava Red) but thanks to a clogged nozzle ended up with blobs – I decided they looked like ink splots though which fits so I didn’t have too much of a paddy!   I stamped over with Judikins Italian script stamp (love this stamp!) .SD532618
Then used baby wipes I had mopped up my ink with to make flowers (with the help of the Tattered Floral Die), added a Nestie label, some tissue tape and glassine paper flourishes and there we have it. Trouble is once I’ve altered a notebook I don’t like to use it so this will probably join a couple of others on the shelf looking pretty !
I’m entering this at -
Paper Take Weekly – grow your own flowers
The Stamp Man – Summer Colours
Allsorts – anything but a card
Just Us Girls – Alter a Notebook
Gingersnaps Spicy Supply – Baby Wipes
Fashionable Stamping Challenges - Make your own flowers
Paper creations ink - Show us your flowers

Right then – where are those snowman stamps….xx

Sunday, 7 August 2011

Taking the train…

..a nice trip on the orient express..that would be lovely! But alas, I’m here in very rainy Suffolk still – but at least the poor weather gives me an excuse to craft (not that I ever need one !) I bought this train stamp (Stamp Addicts) for my mum for her birthday and then cheekily spent some time stamping some images out ready for my use which have been lurking on the desk for a few months now. So when I saw that the Gingersnaps Random Redhead challenge was trains and planes I had the perfect chance to use one…
SD532601
I masked the train, stamped over with script (Artistic Stamper) added some Distress ink and layered on metallic card - the charm is a little train which is tricky to see in the pic.  I’ve used a crackle background stamp (Artistic Stamper) round the edges of the card over Walnut stain Distress ink and just added a simple sentiment.  My Father –in-law is mad on trains so that’s his birthday card sorted (though it’s not till December….scarily organised!).
As well as Gingersnaps I’m sharing this card here too -
Papertake Weekly – Anything goes/optional extra –use metal

I also wanted to share this card with you -

This was made using a new Christmas stamp from Stamp Addicts and the Technique from Tim Holtz demonstrated here. This is the theme for Linda's Grungy Monday this week - it's been ages since I've had the time to enter GM over at Studio L3 and I've missed it ! After creating the 'parchment scroll' I stamped the sentiment in Gold Metal Magic (fab UTEE from Debbi Moore which doesn't crack when you cut it !) and just added a ribbon.

Hope you’re enjoying the weekend too – Thanks for visiting…Esther x

Tuesday, 19 July 2011

Little tutorial

One of my all time favourate techniques is masking and stamping – I love the effects you can get with even very simple images.  My mum, who is a bit of a stamping novice, was quite confused by the technique though and couldn’t get over how simple it is once I showed her step by step…and I've recently been asked about it elsewhere too so I thought I‘d post a card I made with a few pics to show what I did. Apologies to those of you that will know how this works.

This is the card – made with  a single cupcake stamp, a cherry and a background gingham stamp –oh and the sentiment of course. I actually wish I hadn’t added the cherry but it’s too late (and I mean gone bedtime late) to do anything about it now!  SD532543
SD532537Stamp the cupcake onto a sticky note (making sure part of the image is on the sticky bit!) and cut out just inside the stamped line. Stamp the cupcake onto your cardstock and cover it (mask) with your sticky cut out.

SD532538 Stamp the image again over the mask, you can mask and stamp several times - I did five cupcakes.
 SD532542

Mask all of the cupcakes and stamp over with background stamp.
The cakes look more natural, like they are standing one in front of the other, on top of the background  - which I thought look a bit like a picnic table cloth!!  I've coloured with pro-markers and added a little ribbon and bling.

I’m going to enter this here -


Thanks for visiting…now I’m off to bed!! Esther xx

Sunday, 5 June 2011

Rust, Denim and Dusty Butterflies

I made a decision this weekend – radical and scary...I MUST use some of my existing paper stash before I’m allowed to buy anymore!! Oh my…can I bear it?..I have a whole storage thingy full of 12x12 papers, bought for scrap-booking so long ago it’s now not really very in trend…so I am aiming to alter it and USE it!!! Then I can justify buying some more lovely stash to look at and stroke! So today I took 3 sheets –SD532359 (I know 3 at once!), got out my inks, stamps and spray bottles and had a right messy old time. These are the papers I started with. Not very inspiring – but they were picked for the colours to match the theme at Gingersnaps Creations of Rust, Denim and Dust. After a bit of masking, spritzing, stamping, splodging and ripping here is what I ended up with. SD532363 The Butterflies are Die cut in cream card and the baby wipe I used to clear up my inky mess.SD532365
Other Challenges -
The Written word -   The Three Muses
Something that Flies Charisma Cardz
Monochrome Plus one  The Artistic Stamper Creative Team.
Favourate Stamp (text stamp)  - Simon Says Stamp and Show

Saturday, 21 May 2011

New Stamp Addicts Stamps

Hi all – I’ve have a hectic couple of weeks with weddings, work and my mum’s birthday but I have somehow found time to make a few samples for the next Stamp Addicts show on Create and Craft which goes out on Thurs 26th May @ 12.00noon   SD532252 This chappie looks very comfy having a country snooze.  I have stamped him in Jet Black Archival ink, masked him and used Stamp Addicts scenic stamps in the background, water coloured with Distress Inks. I'm going to enter this card at Gingersnaps Creations in the Random Redhead challenge which is Scene stamping, and also at Sir Stampalot's Magical Worlds challenge.  I’m having a major tidy up in my craft room thanks to some new storage that arrived yesterday so better get back to it! Thanks for looking and enjoy the weekend…Esther xx

Monday, 16 May 2011

Mum's Birthday

Last weekend was my mum's 65th Birthday and we spent Sunday with her, my Dad and Brother.  My Brother lives in Belgium so it's not often we're all together as a family and it was a lovely day..and now mum's had her big day I can share the card I made for her with you - It's an 8"x8", I haven't tried making many of this size as it's a bit daunting but I like how this turned out...
Mum and I had a day together a few weeks ago crafting at my house and I was able to find out which was her favourate stamp of mine, she's not into frills and fuss so I went for elegant, using the colours of her living room (purple and grey - she likes things to co-ordinate!). I stamped the image (Printworks Stamp) in white and used pearl embossing powder, coloured with distress inks (dusty concorde and shabby shutters), masked the flowers and stamped text in Pumice Stone DI before layering on some lime then purple card. I used the negative from a die cut (TH elegant flourish) as a stencil and more Pumice Stone DI and then added the message on a die cut fancy label.
I have to say I really love this stamp too and it's well used. The colours of this card happen to be this weeks challenge colours at The Play Date Cafe - ok so I may of  added the lime green to my mums living room colours to make it so - but it is one of my favourate colour combinations. The Pumic stone looks quite brown on the photo and was more grey in RL..it's a great colour I find that takes on different tones depending on what I use it with, - or maybe that's my imagination! Anyway, as well as The Play Date Cafe, I'm entering this at Papertake weekly (Punches) and Stamp Something (Anything Goes).  Thanks for looking and hope you're having a good week...Esther xx

Monday, 9 May 2011

Poppies

Oh what a fabulous weekend I've had. My best friend got married on Saturday so my OH and I travelled to Surrey on Friday, stayed over and joined in the celebrations (we were invited!).  After the journey home and a sleepy day yesterday, it was back to the craft desk today as I had booked the day off work. I was supposed to be making my mum's birthday card but I got distracted by some very exciting news (more of that later in the week) and The Stamp Man challenge where the current theme is Poppies. Janet is encouraging us to make cards to be sold at the Skipton British Legion concert in October so I made this one to send in  -
For the main panel I stamped the Hero Arts flower - this is available as a separate clear stamp but mine is in a very old set of four I'd  tucked away in a drawer and forgotten about til I saw this challenge. I've coloured with Pro-markers, used distress inks on the background and stamped with a  newly purchased Crafty Individuals stamp (think this could become my fav background stamp of the moment!). For the second panel, coloured with Distress inks and stamped with an Elusive Images stamp. The stamp 'Remember' I've had for so long I can't 'remember' where I got it. I keep looking at this card thinking it needs something else - but don't know what... I often feel my cards don't have as much detail or embelishments on as others I see - but is that a bad thing ? What do you think? 

As well as The Stamp Man I am entering this into these challenges -

I'd also like to say a big thank you to Jean, who is a new blogger but already has some lovely creations to share. Jean left me this award on her blog a couple of days ago.  I'm afraid I  never carry out the conditions attached to awards but it's lovely to be appreciated by fellow bloggers, so thank you Jean.  

Enjoy the rest of the week, thanks for stopping by, Esther

Wednesday, 13 April 2011

Goodies on WOYWW

Hello fellow WOYWWers...I've struggled staying involved with WOYWW recently because of being so busy at work and having assignment deadlines to study for at home, but this week I had just had to share the goodies that are on my desk thanks to a recent win in Sir Stampalots challenge and a little shopping spree! Several packages were waiting for me when I returned from work yesterday and it was a bit like Christmas - especially as I didn't know what was in my challenge prize package.
I got some gorgeous stamps, stickers and image sheets and shall have loads of fun at the weekend when I get time to play so thanks Sir Stampalot!

Sitting in the background on my desk is the card I made for the 'Sentiments' challenge at Less is More. I was going for a thought bubble effect to tie in with the sentiment by making some masks and stencils with my Nesties. I'm not really sure it's worked but don't know what's wrong...don't you just hate it when that happens...I know the Less is More ladies are all very good at commenting and leaving help so all suggestions gratefully received!

Well better get off to work now....Happy WOYWW...Esther xx

Monday, 21 March 2011

Wise Words

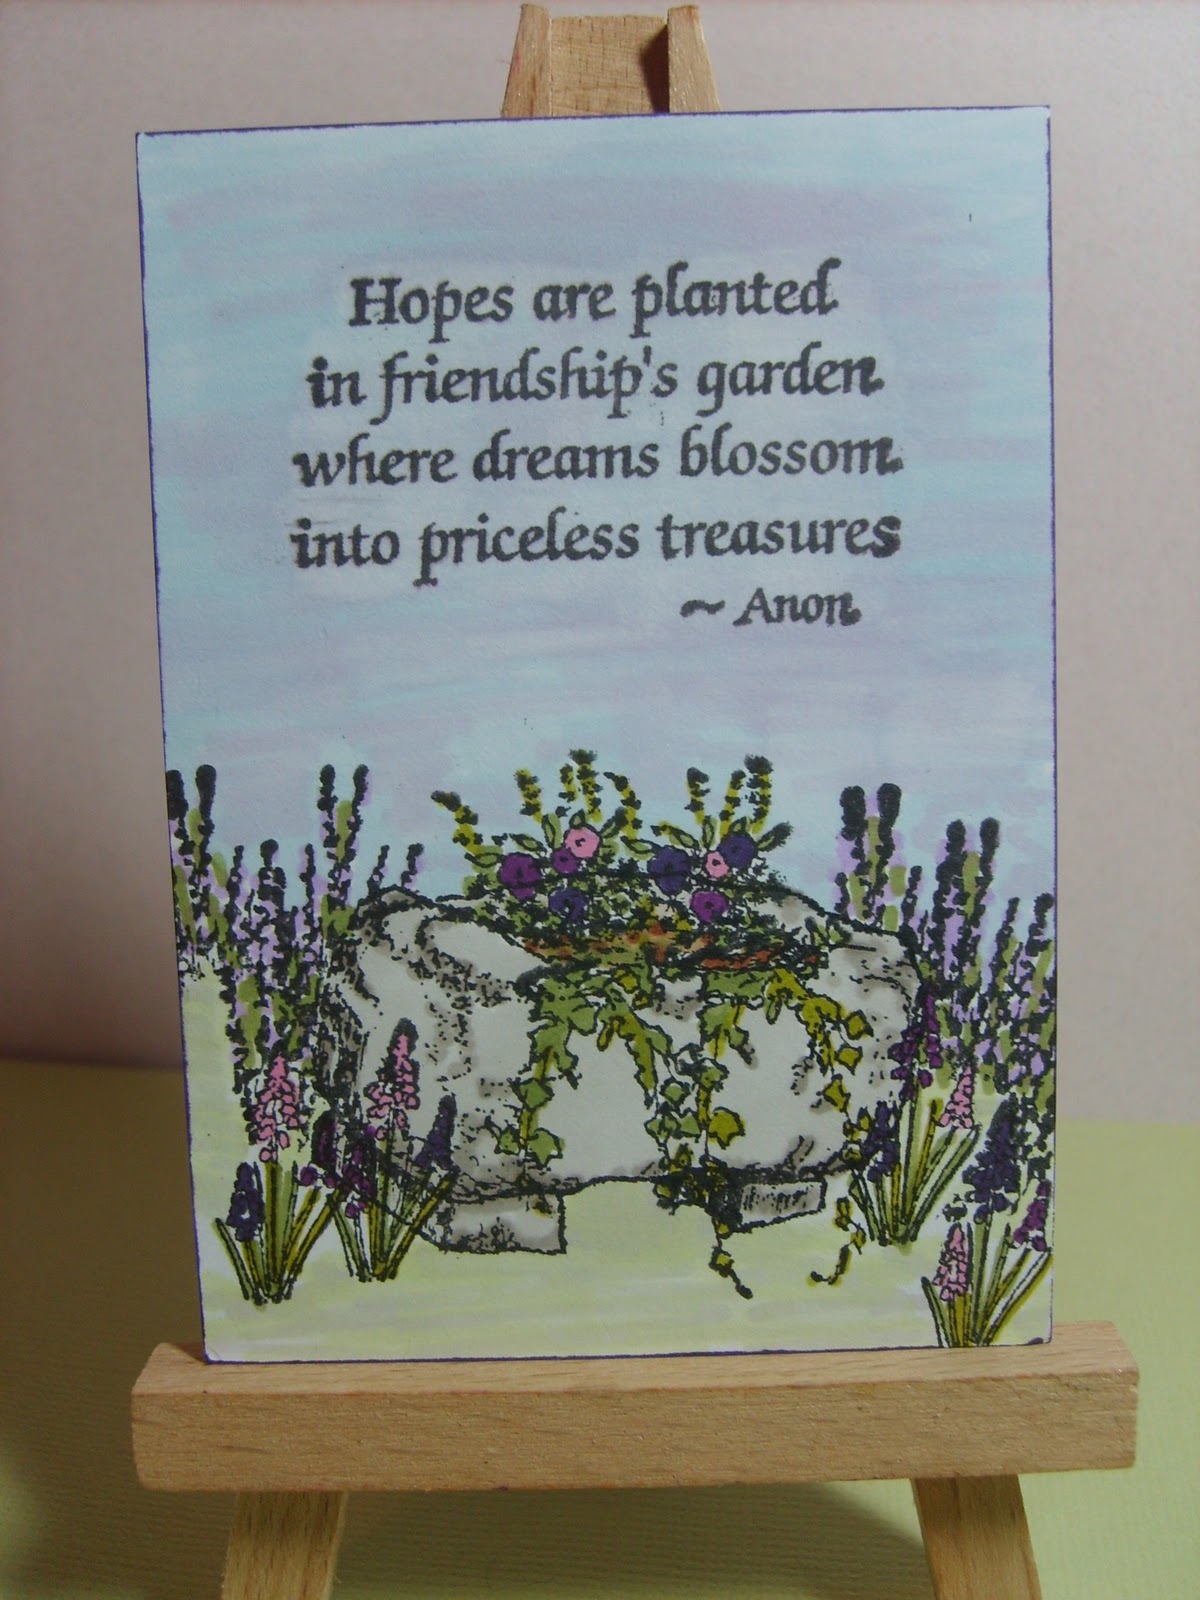
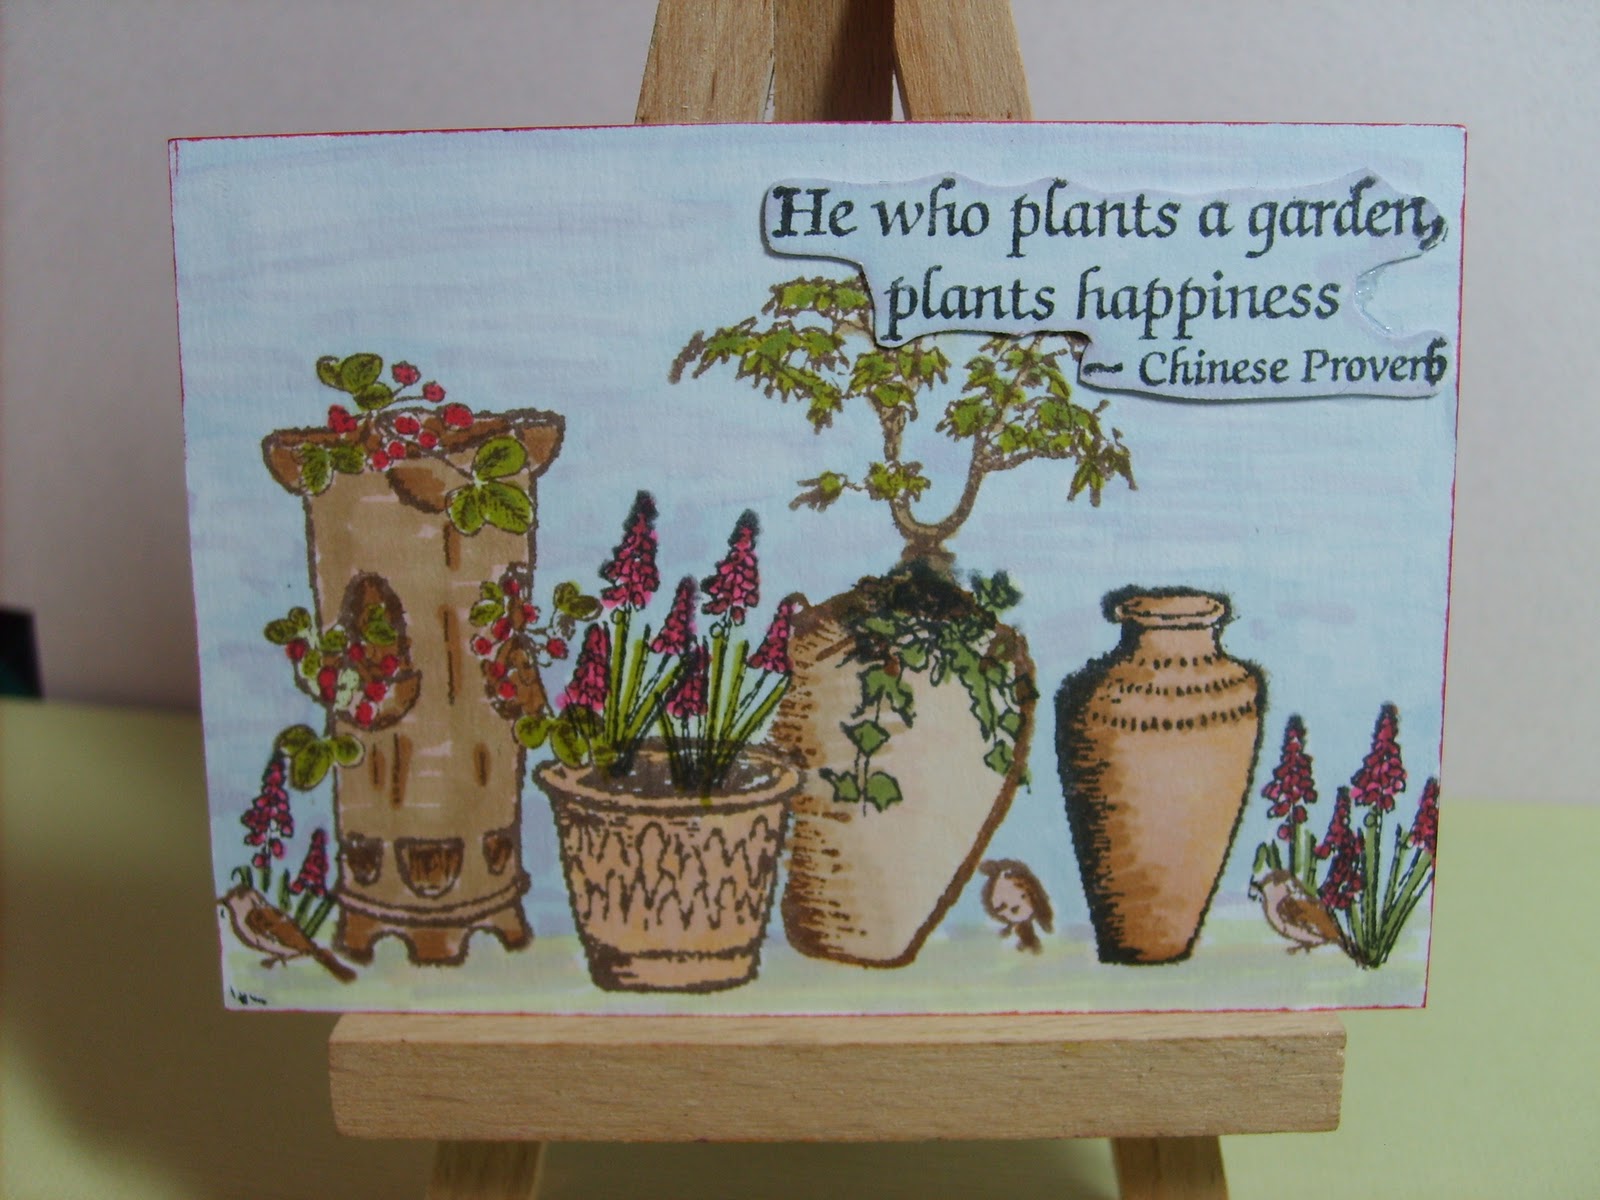
I am really enjoying being part of The Stampman ATC swap, hadn't ever made an ATC in my life before I joined in and now I'm a bit addicted and have received some lovely art work from other crafters. This month the theme is Wise Words and as there is a bit of spring in the air I've used these lovely stamps which are Aspects of Designs I've had for ages. I love playing with the individual stamps - the pots, planters, flowers etc to  create scenes and came up with three different garden/spring themed pieces, each with a different quote from the same stamp set.  I don't have a garden so creating these was lovely - my own little pieces of spring inside!

I've used Flower soft on this one to create blooms in the pot

This is my favourate and like on the third one I did some masking and stamping

 They are all coloured with Promarkers - got a bit of a wonky pot on this one!
As well as The Stampman Swap I am entering these into the following challenges -

Hope spring is finaly arriving where you are too..Esther xx

Sunday, 30 January 2011

An Inky weekend

 I received through the post this week some new stamps from Lavinia stamps - they are some of those gorgeous fairy stamps I have seen about and lusted after for some time. Well I had a little money left over from Christmas (thanks Mum) so in the shopping basket they went. Subsequently I have had a lovely inky play this weekend and made some things for a few challenges.
I really just made this up as I went along. Using Distress Inks I started with my brayer, continued with my Distress inks applicator and finished off with a  little cosmetic sponge! The stamps are a combination of Lavinia's stamps and  Hampton Art. I gave the whole piece a spritz with perfect pearls mist in perfect pearl  - (you can see how it's affected the DI ink on this pic but not the lovely shimmer it gives) and used a white pen to add some highlights. Oh and of course there is stickles on there too - black on the mushrooms and crystal on the fairy wings! So now for the challenges- The Artistic Stamper - 'Things with Wings', ABC  - 'M' is for Magical,
Also through the post yesterday I received this months Craft Stamper magazine and my next project involved pretty much casing one of the cards from within it's creatively brilliant pages! Using the Blended paper technique, (including a spritz of DI re-inker in Milled Lavender) I made this card -


 I've used my favourate colour (purple) to fit with this weeks Play Date Cafe Challenge which is a colour splash challenge. I'm also going to enter both cards over at Lets ink it Up - 'Anything Goes' and Stamptacular - 'whateva'.
I made this as an entry for Simon says Stamp and Show - childhood memories but missed the entry time by a few mins - I struggle with working out the time difference!. I've used script and music images for the background technique which represent my two biggest loves (other than crafting) discovered in my childhood and carried on through my life (hence the journey sentiment) Books and Music. I always had my nose in a book as a child and spent many happy hours reading - had even been known to walk to school with a book in front of my face! I also learnt to play the piano as a child - I can remember teaching myself a few notes while playing at a friends house who had a piano and then crazing my parents to learn.   So there you have it - bit beside the point as I missed the challenge I know but I'd put the work in so shared it anyway!

Talking of sharing I received a blog award earlier this week from Lynn (Spyder) who lives here. It's lovely to know people are interested in my blog especially when I've been pushed for time lately and haven't done as much visiting as I'd like. In accepting this Award, I should tell you 8 things about myself and then pass it on to 8 others. Well this post is already very long so I won't bore you further. I also realise that some people don't like doing the write about yourself and  pass it on thing, and there are so many fantastic blogs out there I'll just say thanks so much to Spyder and anyone who would like to take the award and pass on to others please do so!

Hope you've had a happy creative weekend - thanks for stopping by...Esther xx

Wednesday, 29 December 2010

WOYWW - First DT projects

I was full of good intentions for today - I've got a few days off work and the plan was to be up bright and early to catch the beginning of the WOYWW list and then get on with the samples for my first Stamp Addicts Design Team job....but here I am at 12.30pm, having had a lie in, pottered around doing a bit of nothing wondering where the morning went! I am very excited though,  having been chosen to be on the Design Team for Stamp Addicts a couple of months ago I have been eagerly looking forward to my first job and it came in the shape of some beautiful stamps which will feature on a new show going out on Create and Craft on Jan 7th @2.00pm. (You can see a preview of the stamps here - they are gorgeous!) So my desk this week basically contains work in progress for that.
And below is a finished card - I created a background with the music score stamp by stamping in Bundled Sage Distress ink, clear embossing, then applying more Distress Inks over the top (pumice stone, peeled paint and Frayed burlap). I created the corner collage of images by stamping and masking - I stamped the bust first (is that Beethoven?), masked him, stamped the violin and piano keys over the top, masked both of them and stamped the music score over the whole lot. I then applied Distress inks before removing the masks. 
 
Although this wasn't made with challenges in mind, it does fit a couple so am going to enter it over at Allsorts - Anything Goes , Simon says Stamp and Show - Yesteryear and Sunday Stampers - music.

To join in with WOYWW just head over to The Stamping Ground, run by the delightful Julia and get snooping  sharing !

I hope eveyone had a great Christmas and wish you all a very Happy and Creative New Year, Esther xx


Sunday, 19 December 2010

Trees...and snow...

Well did I say in my post yesterday we had no snow ? ....I stand corrected, we certainly do have some now - so much in fact we were unable to get out of our little town to the pub in the next village for the Christmas meal we had planned with friends..ended up with a takeaway pizza and playing board games! So here is a pic of the snow on the trees around our flat - I have to admit it is beautiful, but I do hope the roads are better for my journey to work tomorrow.

And in keeping with the tree theme here is my card for today. I made it some time ago for a dear friend and her fiance who had to cancel their wedding due to a family bereavement but didn't blog it at the time as it seemed to personal. I wanted understated and thoughtful but tried to add a glimmer of optimism with the sun rise peeping through the trees.
The tree stamp is from Judikins and I've just stamped it twice over a background coloured with distress inks using a mask to create the sun.  The foliage on the card edges is a stamp from inkadinkadoo stamped in DI also. The sentiment is a rub on - I don't use them often but don't have a thinking of you stamp - something I need to remedy!
I'm entering this into the challenge over at Stamptacular Sunday - where the theme is trees and also at Allsorts which this week has a 'free and easy - anything goes' theme.

Now I really must finish off those Christmas cards and present tags...thanks for taking a look,  Esther xx 

Saturday, 18 December 2010

Not a snowflake in sight...

..and that means either outside or on my crafting ! Nope, we've had no snow..I thought at first we had had a light dusting but it seems to be more of a heavy frost than anything just on the cars and the roof...and as for my crafting, I've been poorly all week,(still sniffling now - kleenex and Lemsip have made millions I bet!) and the mojo and motivation was definately lacking. However yesterday I picked up a bit so rather than battle with the last of my Christmas cards I made just what I fancied - a non-Christmas but definately Tim inspired tag....

I used distress inks to colour the tag (bundled sage, pumice stone, frayed burlap, tattered rose, antique linen) scrunching and wrinkling before adding some Walnut ink DI to the raised areas. I used an ATC which I again coloured with DI and did a bit of masking too before stamping. I used some tissue tape (traveller) down one side and stamped and cut out some tickets to make a border along the bottom with a lace scrap.  
I then followed Tims video from his 12 tags of Christmas post to make the tissue tape flower and was really pleased how it turned out after adding Moonglow shadow mist. I've taken a close up to try and show how this gorgeous mist adds a hint of shimmery colour - in this case emerald, you can see it better if you click to enlarge the pic. Although I really just went with whatever took my fancy to make this I did have a couple of challenges in mind and there are a couple that it happens to fit so I will be entering this into - Sir Stampalot - Travel the World, Gingersnap Creations - Vintage Hues, The Stamp Man - Anything goes tag and Simon says Stamp and Show - A Tim Holtz technique. 
And now I'm off to play some more - I'm so excited as I took possession yesterday of  long awaited for and much sought after the tattered florals and rosette dies! Technically they are Christmas presents from my mum but , well, I had to order them and they're here and unwrapped so...sshh..don't tell anyone !

Thanks for stopping by...Esther xx
Sunday, 21 November 2010

Splatter and Sparkle

Another crafty Sunday speeds by..why do the weekends pass so quickly? I've been working on a mixture of things - the Compendium of Curiosities challenge from Linda at Studio L3 being one of them. This week the technique is Alcohol ink Splatter (P52) and I'd been looking forward to this one since getting the book - I even went and bought the necessary special equipment. However it took me loads of attempts to get something I was happy with. I am pleased with the colours and it has a shimmer which you can't see in the pic from the pearl mixative that I used but I don't know what to do with the finished piece , it will probably end up cropped and on a card at some point but for now it's just as it is......

I've also been cracking on with Christmas cards still and used the colours from the Play Date Cafe Challenge #56. This is one of my favourate challenges and they are having a 'Player Appreciation Week' so go check it out. The colours are Red, Olive and Turquoise which I have to admit I was unsure of to start with but out came the distress inks and after some smooshing I was loving this combination.


I love making my own Background papers and did just this with Distress inks and my favourate Judikins script stamp.  The main stamp is by Penny Black and I've stamped it once using Marvy Markers, then masked and stamped some more. I applied crystal stickles to the main image which had the additional effect of making the colours bleed. I cut flourishes with Tim Holtz's elegant flourishes die and added a Tim Holtz Type charm, some ribbon, lace and Gems.

I used the sketch from the Penny Black Saturday Challenge (left) and so am entering there this week and also into the following Challenges:- The Play Date Cafe - Red Olive and Turquoise ; Simon Say Stamp and Show - 'Whatever  makes you Happy' (Distress inks, stickles, creating own BP); Penny Black at Allsorts -  'It's beginning to look a lot like Christmas'; Allsorts -'Lace, Ribbon and a Charm'

I hope you've all enjoyed a good weekend, thanks for stopping by...Esther xx
LinkWithin

Related Posts with Thumbnails